If there’s one dessert that perfectly combines childhood nostalgia with grown-up indulgence, it’s the Crispy Cotton Candy Cheesecake Bombs. Imagine a bite-sized cheesecake encased in a crispy golden shell, drizzled with colorful icing, and kissed with the magical sweetness of cotton candy. It’s whimsical, creamy, crunchy, and melt-in-your-mouth delightful — a true explosion of textures and flavors. Whether you’re hosting a party, looking for a show-stopping treat for the kids, or simply craving something fun and indulgent, these cheesecake bombs are a total winner.
In this recipe, we’ll take you step-by-step through the process of creating these dreamy bites — from preparing the velvety cheesecake filling to achieving that irresistible crispiness on the outside. So, tie up your apron and get ready for a dessert adventure that’s as magical as it sounds!
✨ What Makes These Cheesecake Bombs Special?
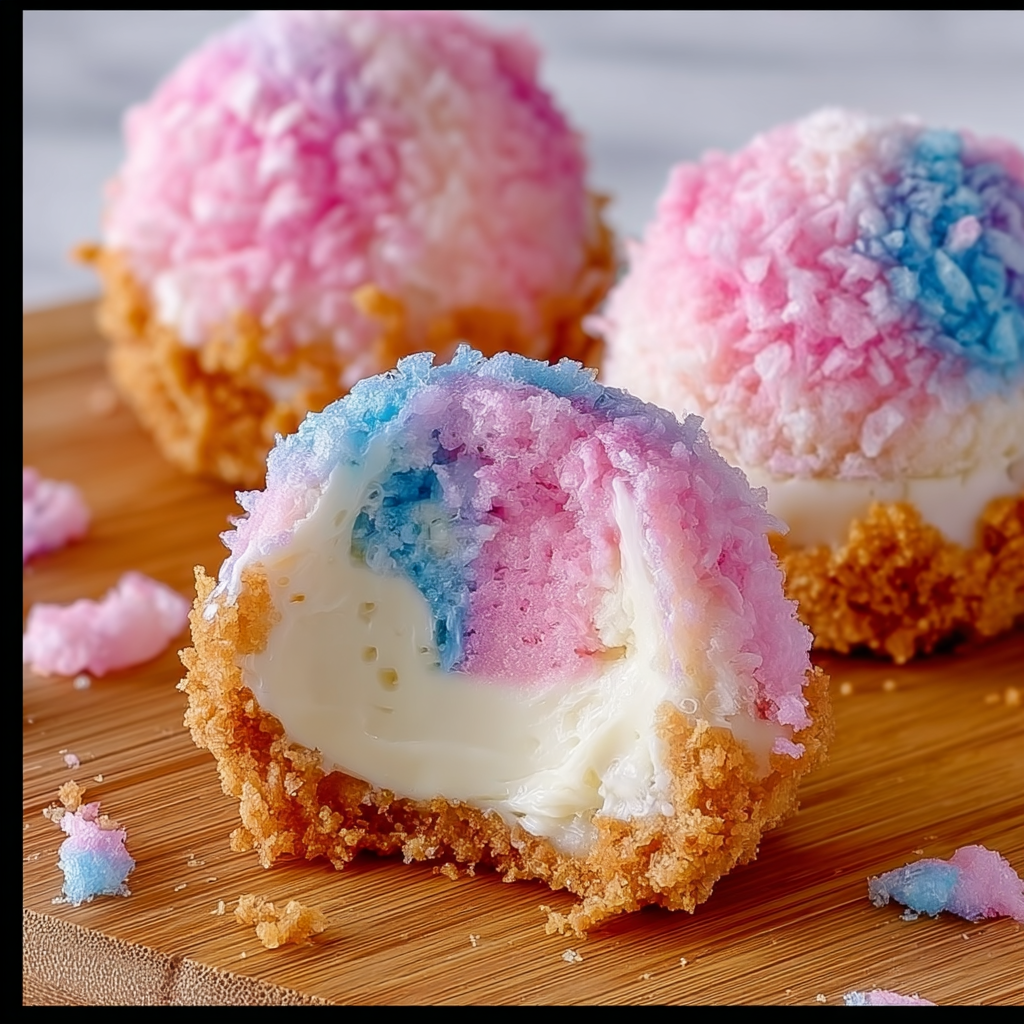
The secret to these Crispy Cotton Candy Cheesecake Bombs lies in their perfect balance of flavors and textures. You get the crunch of the fried coating, the creamy tang of the cheesecake, and the fluffy sweetness of cotton candy that practically melts on your tongue. It’s like a fairground treat meets gourmet dessert.
The best part? They’re surprisingly simple to make — no need for fancy equipment or hours in the kitchen. The ingredients are common, the method straightforward, and the results absolutely jaw-dropping.
🍰 Ingredients You’ll Need
For the Cheesecake Filling:
- 8 oz (225 g) cream cheese, softened
- ¼ cup granulated sugar
- 1 tsp vanilla extract
- ½ cup whipped cream or Cool Whip
- A few drops of cotton candy flavoring (optional for extra magic)
For the Coating:
- 1 cup all-purpose flour
- 2 large eggs (beaten)
- 1½ cups crushed crispy cereal (like Rice Krispies or cornflakes)
- Oil for frying (vegetable or canola)
For the Decoration:
- Pink and blue icing or candy melts
- Crushed cotton candy (for topping)
- Powdered sugar for dusting
👩🍳 Step-by-Step Instructions
Step 1: Make the Cheesecake Filling
Start by beating the cream cheese, sugar, and vanilla extract together in a large mixing bowl until smooth and creamy. Add in your whipped cream and cotton candy flavoring (if using) and continue to beat until light and fluffy.
Spoon the mixture into small balls (around 1 inch each) using a cookie scoop or spoon, and place them on a parchment-lined baking sheet. Pop them in the freezer for about 1–2 hours, or until they’re firm enough to handle.
Step 2: Prepare the Coating
Once your cheesecake balls are chilled, set up your coating station:
- Place flour in one bowl.
- Beat eggs in another.
- Crush your cereal finely and place it in a third bowl.
Roll each frozen cheesecake ball first in flour, then dip it in the egg, and finally coat it thoroughly with crushed cereal. This triple-layer coating is what gives these bombs that irresistible crispiness.
For an extra crunch, you can double-dip — just repeat the egg and cereal coating once more.
Step 3: Fry to Perfection
Heat oil in a deep pan or fryer to about 350°F (175°C). Carefully drop a few cheesecake bombs at a time into the hot oil, frying for 1–2 minutes or until golden brown. Don’t overcrowd the pan, as that will lower the oil temperature.
Once fried, use a slotted spoon to remove them and place them on paper towels to drain excess oil. They should be beautifully crisp on the outside while keeping that creamy center intact.
Step 4: Add the Finishing Touches
Melt your pink and blue candy melts or icing and drizzle them over the cooled cheesecake bombs. Sprinkle bits of cotton candy on top immediately before serving — this keeps it from melting. A dusting of powdered sugar adds a final touch of elegance and sweetness.
💡 Tips & Tricks for Success
- Freeze thoroughly before frying. This ensures the cheesecake centers stay creamy and intact while frying.
- Don’t let the oil get too hot. Overheated oil can burn the outside before the inside has time to soften.
- Work quickly when adding cotton candy. It dissolves fast, so sprinkle it just before serving.
- Experiment with flavors. Try strawberry, bubblegum, or vanilla-flavored cotton candy for different color and taste combinations.
- Air fryer option: For a lighter version, you can air fry at 375°F (190°C) for 7–8 minutes until golden. Spray lightly with oil for that crisp finish.
🍬 Serving Ideas
These Crispy Cotton Candy Cheesecake Bombs are showstoppers on any dessert table. Serve them stacked on a platter for a party, drizzle them with pastel colors for a birthday celebration, or pair them with a scoop of vanilla ice cream for the ultimate indulgence.
For a fun twist, serve them in colorful cupcake liners with a small tuft of cotton candy on top — they’ll look like little carnival treats straight from a dreamland.
🕒 Prep & Cook Time
- Prep time: 20 minutes
- Freezing time: 2 hours
- Cooking time: 10 minutes
- Total time: Around 2 hours 30 minutes
🧁 Nutrition (per serving, approx. 2 bombs)
- Calories: 290 kcal
- Fat: 20 g
- Carbohydrates: 25 g
- Protein: 4 g
- Sugar: 15 g
🌈 Why You’ll Love This Recipe
These cheesecake bombs aren’t just delicious — they’re an experience. The first bite gives you a crunch followed by creamy cheesecake bliss, and then that whimsical cotton candy sweetness hits, making you feel like a kid again.
They’re perfect for:
- Birthday parties and baby showers 🎉
- Carnival-themed events 🎠
- Weekend treats with family 👨👩👧👦
- Dessert lovers who crave something unique
🍭 Final Thoughts
If you’re looking for a dessert that combines the playful spirit of cotton candy with the sophistication of cheesecake, these Crispy Cotton Candy Cheesecake Bombs are your dream come true. They’re fun to make, stunning to present, and impossible to resist once you take that first bite.
So, next time you want to surprise your guests or treat yourself to something magical, whip up a batch of these colorful cheesecake bombs — and watch everyone’s faces light up with pure delight.